How to setup your publishing stack
Our first target is android. So you’ll probably need an android phone, maybe a second one (or at least a friend), though it will is possible several apps in local mode.
Let’s face it we are not providing a magic “export to android” button to pd, but we’re trying to get close to it, you’ll still need to get your hands a little dirty and that means amongst other things :
- installing eclipse.
- installing android SDK.
- installing the android developper tool plugin for eclipse.
- downloading the latest distribution.
- importing it into eclipse.
- creating a new project.
Installing eclipse
This should be easy enough. Just go here and download the Eclipse IDE for Java Developers package for your system. Run the installer, and you are cleared for this step.
Installing android SDK
This is pretty simple too. Go here, and download Stand-alone sdk tools.
You will also have to add SDK packages, but you just have to follow the steps described here.
Installing ADT plugin for eclipse
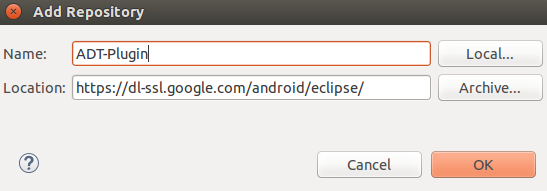
This is trickiest step, but it often quite straight forward : from eclipse select ‘Install new software’ from the ‘Help’ menu. In the upper right hand corner click on the button labelled ‘Add …’.
In the ‘Name’ field write down “ADT-Plugin” (you can actually enter whatever name you want here) and in the field ‘Location’ copy this adress ‘https://dl-ssl.google.com/android/eclipse/’ and click ‘ok’ :
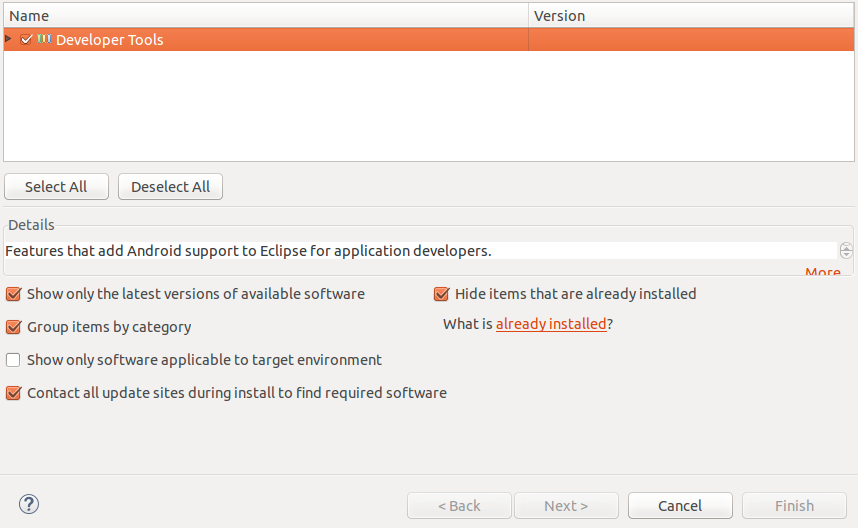
Now you just have to select it and click ‘Finish’ :
You are now good to go for the software requirement ! Now let’s start the fun part :
Download last distribution
- Go here and dowload the latest release (PdPartyPublisher-X.Y.Z.zip file - do not mistake it with the source code right below, you want the first downloadable file here).
- Extract it to a directory that is convenient for you.
Import the project in eclipse
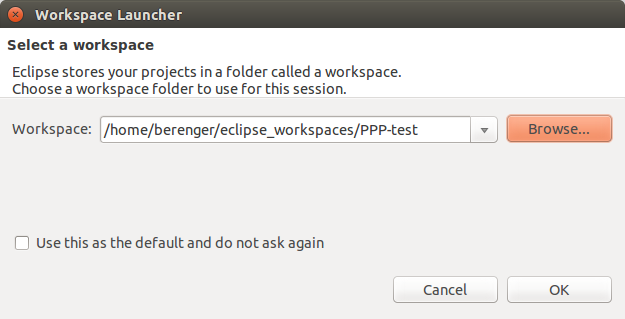
When starting up eclipse, it should prompt you to select a workspace. It is a good practice to seperate your source from your eclipse workspace. We recommand to create a folder to keep your eclipse workspace, a folder were you keep ppp source code and your own code for your applications.
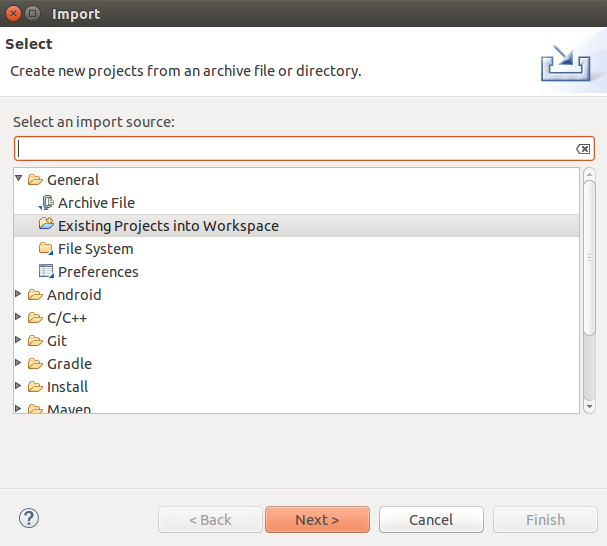
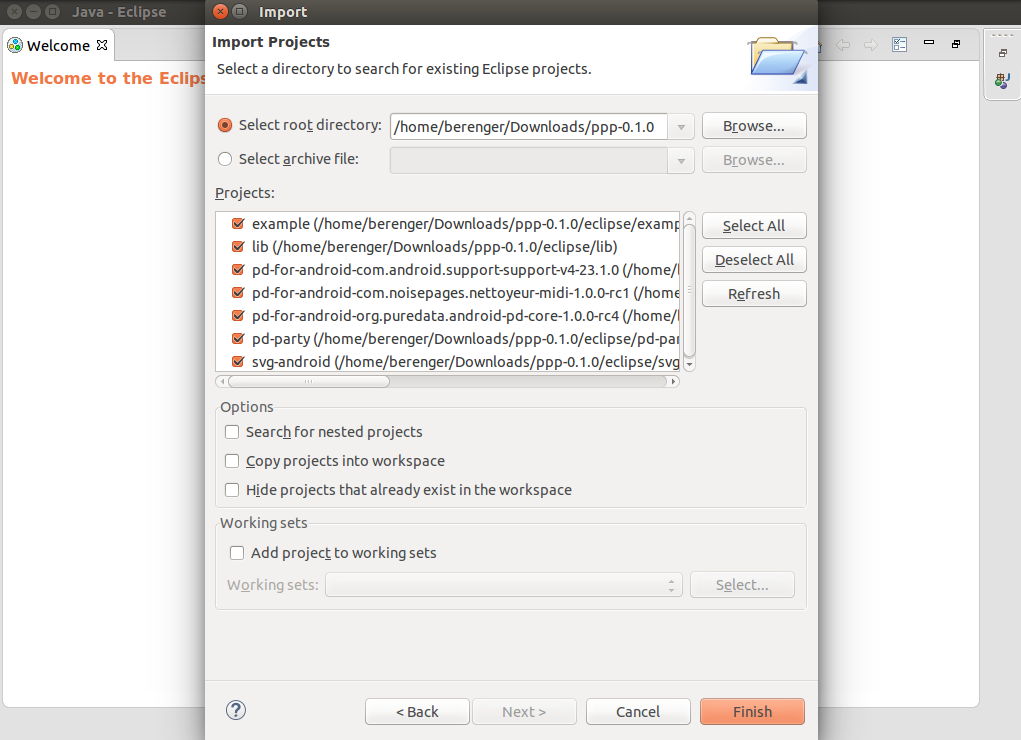
Once your workspace is created go to the menu : File/Import… and select /General/Existing Projects into Workspace. then click Next.
Next to the Root Directory field click Browse and navigate to the folder containing the last distribution you just extracted.
Finally click Finish to import all the projects, do not click copy project into workspace check box. As we want to keep our workspace and our code separated.
Close the ‘workspace’ tab. You may have a few residual errors after importing the project, you can clear them by clicking the menu Project/Clean and select clean all project and click ok.
Now you should have a clean workspace to work on.
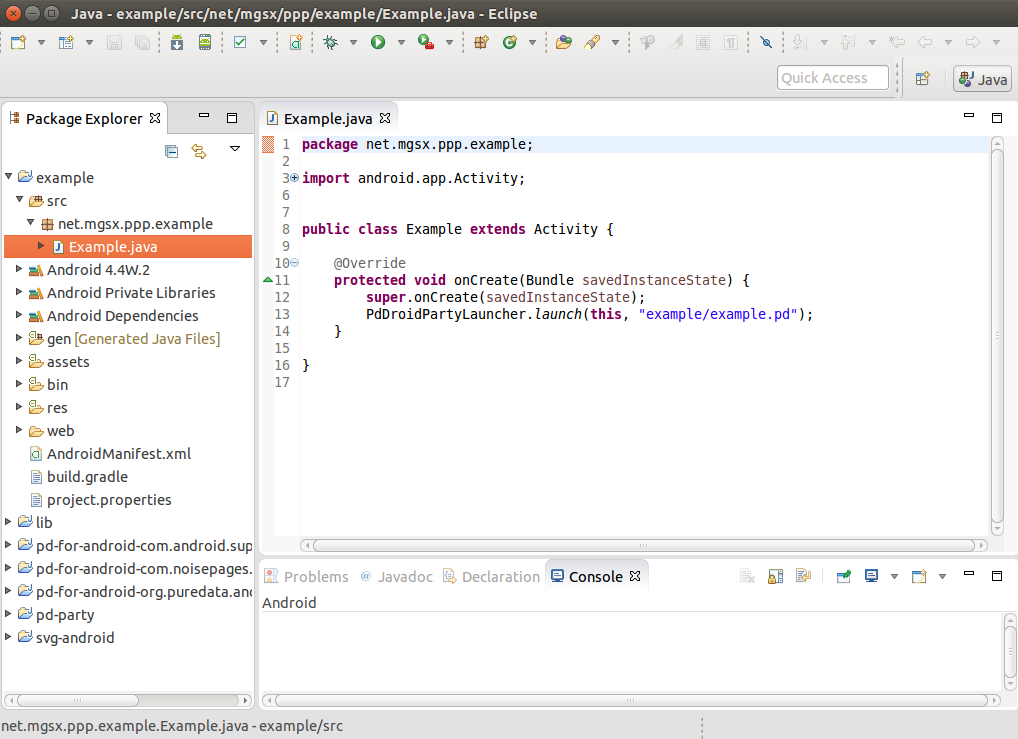
You can deploy the example by right clicking on the example folder in the left pane and select “Run As \ Android Application”. On the screenshot the “Example.java” file is open in the editor.
You need to be sure to have enabled the “Developper option menu” and in it the “USB debugging mode”. The web will help you with that if you don’t know yet how to do it.
If the application launches, you can add features to the example to see how it is going and when you are ready you can create you own project with its own name in the next section.
Create a new application project
In your file explorer and a good text editor, you can setup a new working folder for you project, by duplicating the example folder and editting it manually :
- change app name field res/values/strings.xml.
- change name in the AndroidManifest.xml.
Then in eclipse, import this new folder, by following again the steps to import a project, only this time you’ll only have to select the new project to import. If you cannot select it be sure that any of the names are not used twice if so, change it.
In the package explorer you can now right click on the project and change its package name with the menu Refactor/Rename. Eclipse may ask you if you want to update your launch configurations, say yes.
You can finally launch the project on you android device by selecting the menu Run/Run as/android application - to test that everything is working before starting to code.
Have fun !